Project by Paula Milner


You Will Need
Fabric
Thread
Wadding
Ribbon
Craft Essentials
Sewing Machine
Fabric Scissors
Pins
Tape Measure
Iron and Ironing Board
Safety Pin (optional for the inner drawstring bag)


How to Make
1. CUT
Select and press your fabrics. For the main bag you will need 4 x pieces of fabric each 38cm x 54cm, and additionally 2 x wadding at the same dimensions. If you want to also make the matching coordinating inner drawstring bag you will require an additional 4 x pieces of fabric at the same dimensions. For the handles you will also need 2 pieces of fabric 10cm x 50cm and 1 piece the same dimensions in wadding. You could of course make the handles longer or shorter if you desired.


2. MAIN OUTER BAG - SEW
Place your fabrics for the outer bag right sides together and add a piece of wadding on either side. Wadding, fabric, fabric, wadding. Sew down one side, pivot, along the bottom, pivot and sew back up the other side. Secure your threads.

3. MAIN OUTER BAG - BOX PRESS SEAM
This creates a larger bottom to the bag rather it just being straight up and down. At the bottom of your bag fold out the seams in each corner so that your side seam and bottom seam are lined up together. Measure 3cm in and mark before sewing a straight line to form a ‘triangular shape’. Cut off any additional fabric and then turn your bag out the right way before pressing. This sounds more complicated than it is, but hopefully the pictures show what I mean!


4. MAIN BAG LINING - SEW
Repeat steps 2 and 3 for the main bag lining, without the wadding. However, don’t turn the bag out the right way at the end.


5. MAIN BAG - HANDLES
Place your fabric right sides together and the one layer of quilt wadding on top. Fold in half so you have fabric right sides together and the wadding on the outside. Sew all the way along the long edge, before turning your handle out the right way. Press. Repeat with your second handle.


6. MAIN BAG - CONSTRUCT
Place your main bag lining inside the main outer bag. Fold the edges inwards on the main bag and the inner liner by 5cm. Put your handles into position in between the two and pin everything together. Make sure to try and place your handles at an even point central to the bag.

Optional - INNER DRAWSTRING BAG
7. INNER DRAWSTRING OUTER CASING - MARK
On the wrong side of one of the bag outer pieces, mark the ribbon drawstring casing position: measure down the side edges by 6cm (2¼in) from the top and mark on either side. Mark down a further 2cm (¾in). This will be where the ribbons will later be inserted to form the bag handles.


8. INNER DRAWSTRING OUTER - SEW
Place the drawstring bag outer front and back right sides together and, taking a 1cm (½in) seam allowance, stitch the side seams from the top edge to the first mark. Backstitch to secure the stitching. Start stitching again at the second mark, leaving the casing section unstitched. Again, backstitch at the start to secure the stitching, then continue towards the bottom of the bag. Pivot at the bottom corner, sew along the bottom edge, pivot then stitch the second side edge as the first, leaving the gap for the casing section unstitched.
9. INNER DRAWSTRING OUTER CASING – SEW
To make the first part of the casing, turn under the top edge by 5cm (2in) and press. Stitch all the way round, just below the open seam section at the side edges. You will later stitch a parallel row of above the first row to create your channel (see below) but this will happen once the ribbons are inserted and the lining has gone inside.
10. INNER DRAWSTRING OUTER - BOX PRESS SEAM
This creates a larger bottom to the bag rather it just being straight up and down. At the bottom of your bag fold out the seams in each corner so that your side seam and bottom seam are lined up together. Measure 3cm in and mark before sewing a straight line to form a ‘triangular shape’. Cut off any additional fabric and then turn your bag out the right way before pressing. This sounds more complicated than it is, but hopefully the pictures show what I mean!
11. INNER DRAWSTRING OUTER CASING – RIBBONS
Cut two pieces of ribbon or cord into two equal lengths. This will need to be just over the same length as the width of the bag. Using a safety pin, feed one end of the ribbon through the gap of the casing – push all the way around and out the same side. Knot to secure. Feed the second piece of ribbon from the other side edge, again all the way around, and knot to secure.


12. INNER DRAWSTRING - LINING
Repeat steps 9 and 10 for the inner drawstring lining. However, there is no need for the casing and don’t turn the bag out the right way at the end.

13. INNER DRAWSTRING - CONSTRUCT
Place your main bag lining inside the main outer bag. Fold the edges inwards on the main bag and the inner liner by 5cm. Pin together to secure. Finally stitch both the outer bag and the inner lining together with a parallel row of stitches at the very top of your bag – ensuring not to trap the ribbons inside.

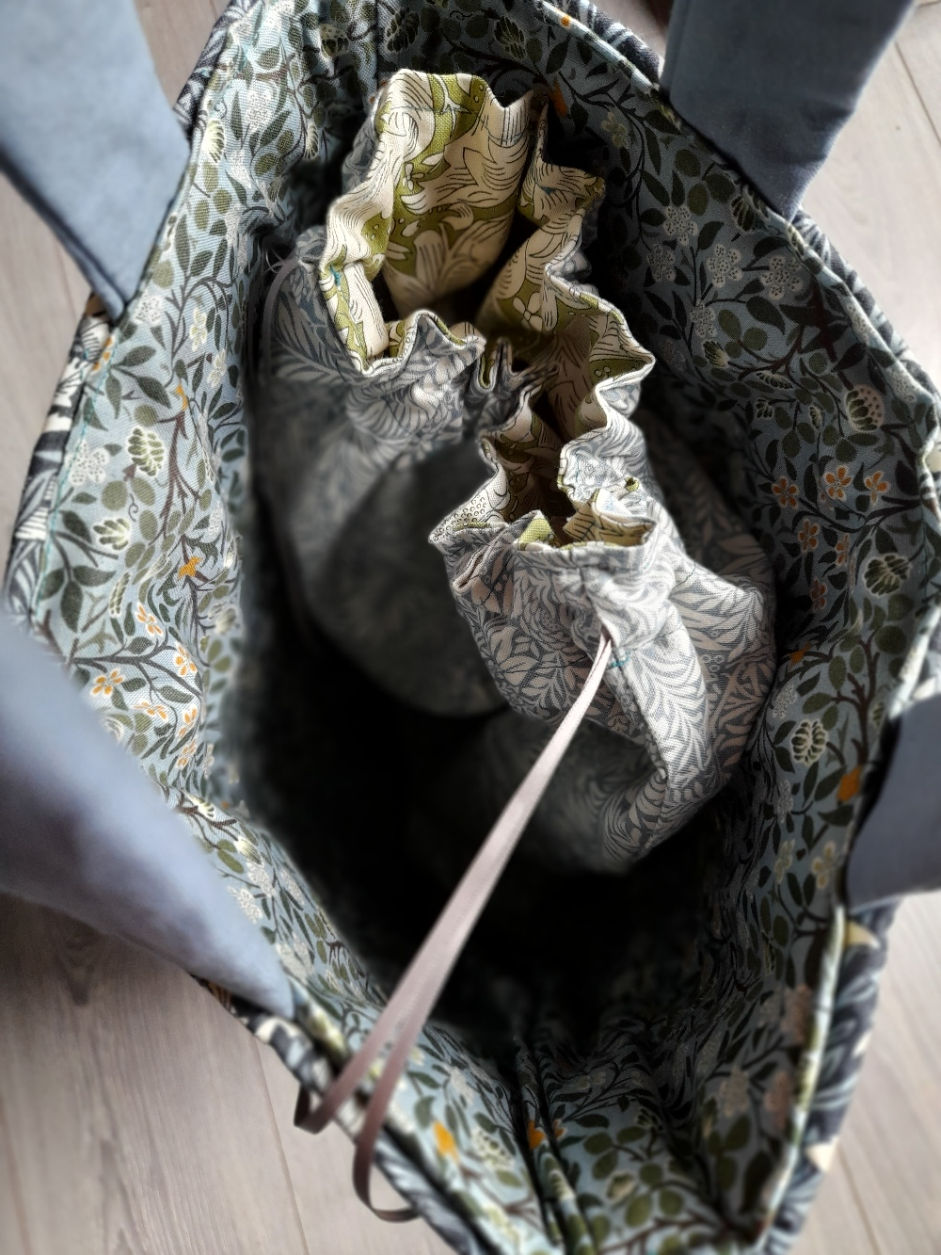
Now, put your drawstring inside the main bag – handy for storing your items in ‘sections’.
Et voila! A tote bag with inner drawstring… Enjoy!


The Crafty Lass® www.thecraftylass.com
Made by Paula Milner for The Craft Cotton Company 2020


Commentaires