

Project by Daisy Lawn


Create a chic arm caddy to keep remote controls and accessories tidy and in arms reach.
You will need:-
Fabric - William Morris collaboration with the V&A by Craft Cotton Co
Wadding to fit
Binding or use Backing Fabric as Binding also Sewing Machine
Sewing Tools
Instructions
Press all fabric to be used. Cut into strips of 7 1⁄2” x 2 1⁄2” depending on the size you wish it to finish with....I used 84 strips. 7 down x 6 across = 84 in total. Cut more for the pockets.

Press the seams alternating to allow for nesting.

Sew the long strips together at sides taking care to nest the side seams.

Press.

Because you have nested the seams, they will give a perfect fitting together on the right side.

The back will be very neat too.

This shows the fitted seams.

Lay wrong side down on Wadding.

Stitch in the Ditch.

Make up a pocket by stripping and fold in half....press and attach to your caddy, sewing up the seams to give separate pocket areas.

Pockets.

Lay the completed piece wrong side down to backing fabric, use less of your main fabric use a plain piece of fabric, cut to 1 1/2"” edge all around.
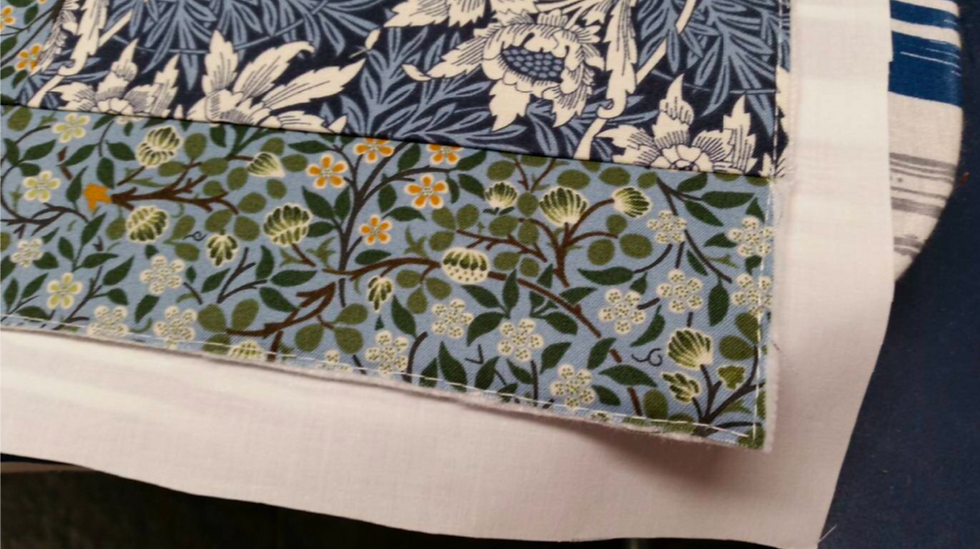
Press over to the edge of the main.

Press over again and add starch to help gain a crisp binding.

Sew the bound edge into place either using a straight stitch, decorative stitch I used a blanket stitch.

This gives a pretty edge on the top.

And a neat finish on the back.

Finished

By Daisy Lawn for The Craft Cotton Company 2021
Commentaires