

Mother's Day Rosette Brooch
- Craft Cotton Co
- Feb 18, 2021
- 2 min read
Project by Sarah Holliman
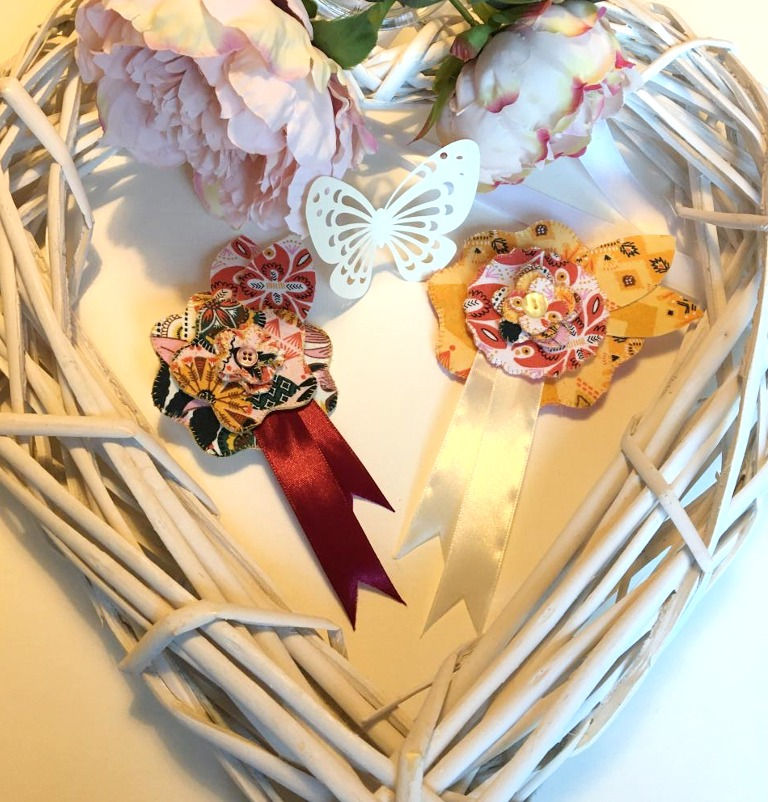
An easy to follow, minimal sew, fabric project to create a beautiful keepsake Mother's Day Rosette Brooch by SJStitchery
You will need;
Selection of small pieces of fabric or a Fat Quarter Pack from Craft Cotton Co.
Ribbon
Small square of felt for backing
Button
Fabric glue
Small amount of embroidery thread (optional)/Needle
Brooch back (available from any craft store)
Iron On Interfacing (optional)
Scissors/Ruler/Pencil
METHOD
1. Firstly, choose your fabric selection for this project.

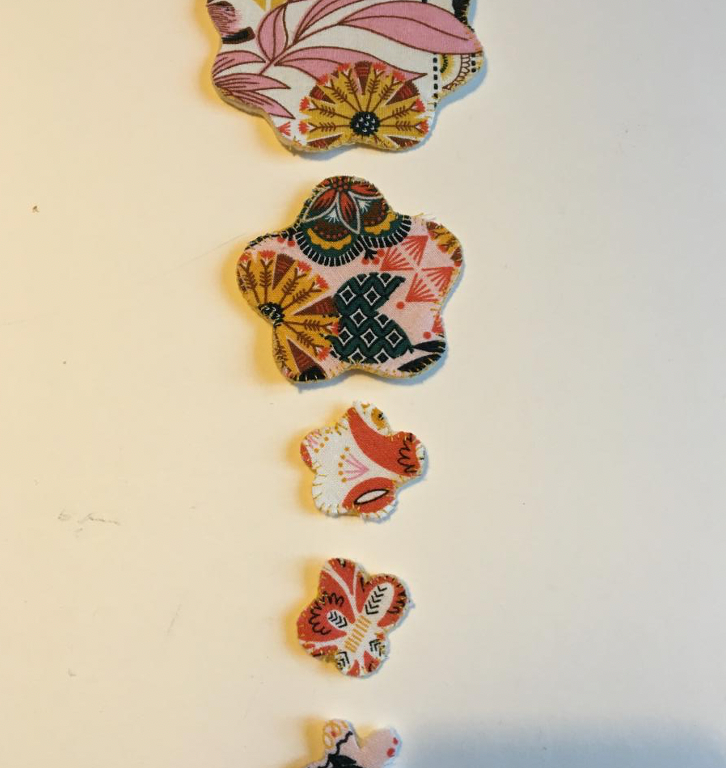
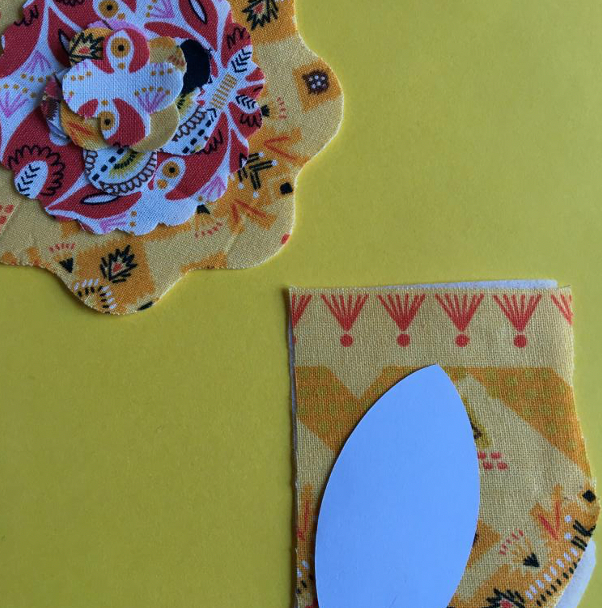
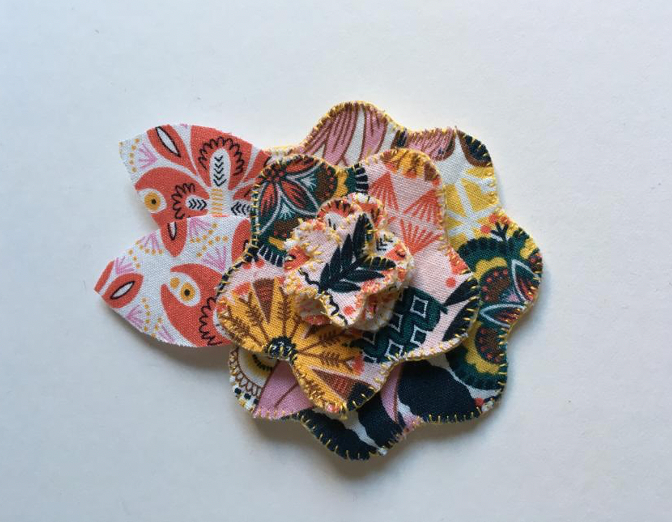
2. Cut out some flower shape templates in fabric. You could trace the shape onto your fabric or use a die cutting machine. Cut out a selection of different sizes of the same shape - I cut 5 sizes of the same flower shape. Also cut 2 leaf shapes in fabric.
3. Add an iron-on interfacing to the back of your fabric to give extra stability to the fabric.
4. Cut out 5 matching templates in felt for the backing of the flowers. This will add extra depth to your brooch. The leaf shape does not require a felt backing.
5. Using embroidery thread, stitch the felt backing to the flower shape. I used a blanket stitch, but you could use any stitch you desire. If you didn’t want to stitch you could also use fabric glue to attach the felt backing.
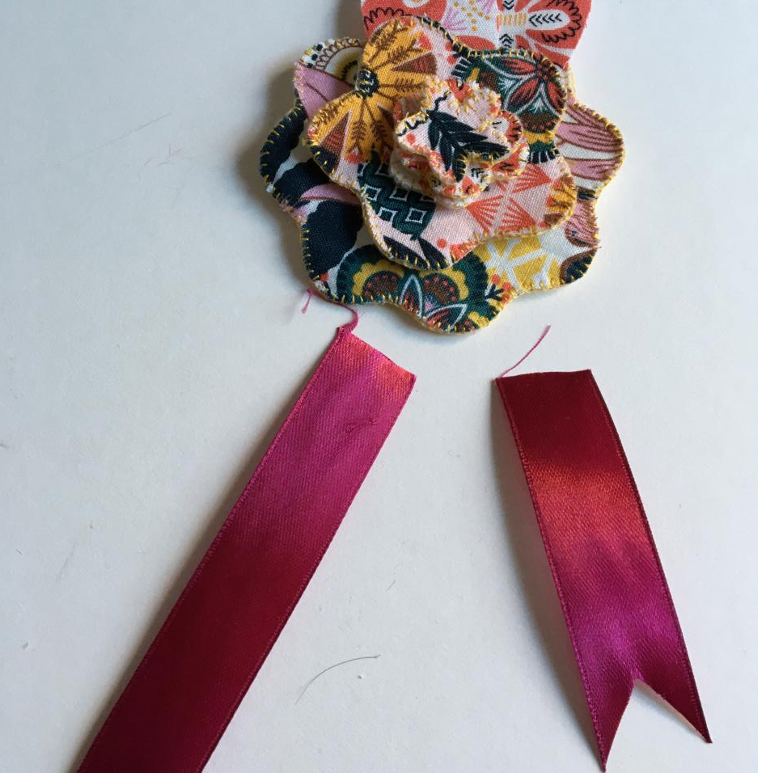
6. Cut 2 pieces of ribbon for the rosette, one shorter than the other. Cut a ribbon ‘V’ shape at the bottom.
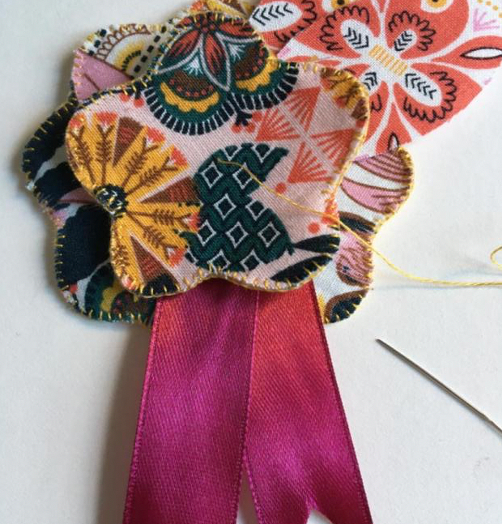
7. To attach the ribbon and leaf, secure with a couple of small stitches (or use fabric glue) - this will all become hidden under the flower formation.

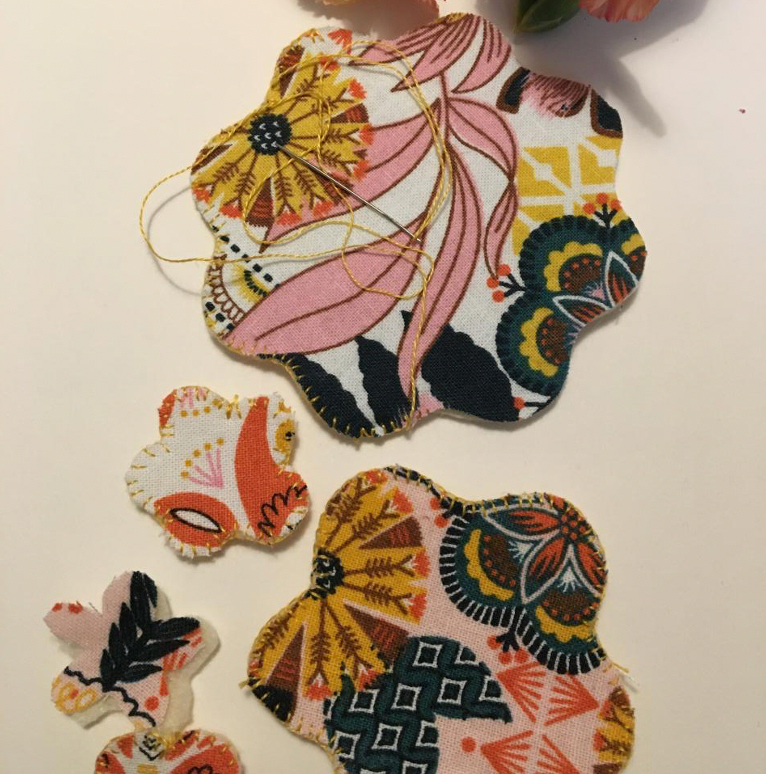
8. Arrange your fabric flower shapes in size order and secure together. I used a thread to sew all the way through the shapes and added a little button detail to the centre.
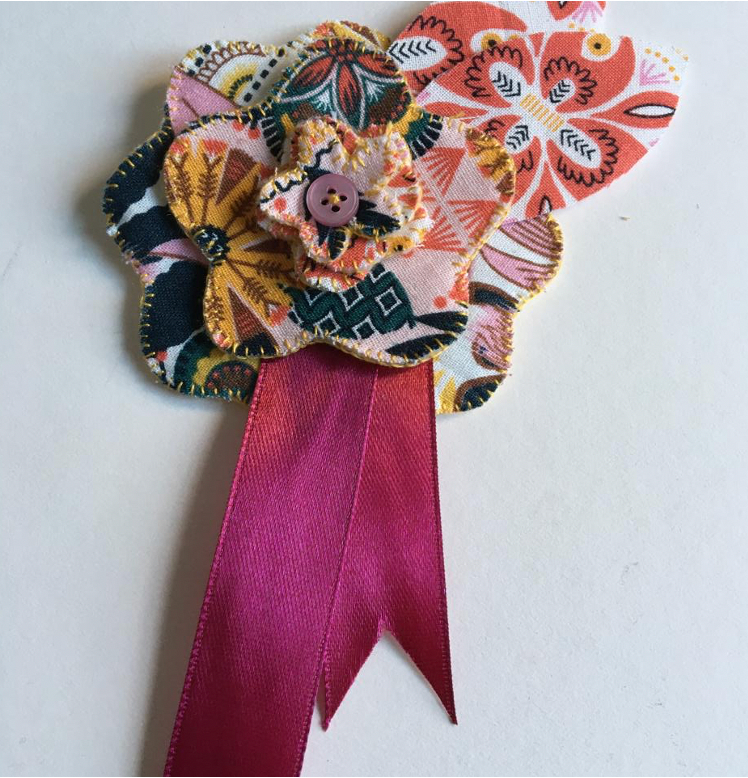
9. Attach your brooch to the back of the largest flower shape.
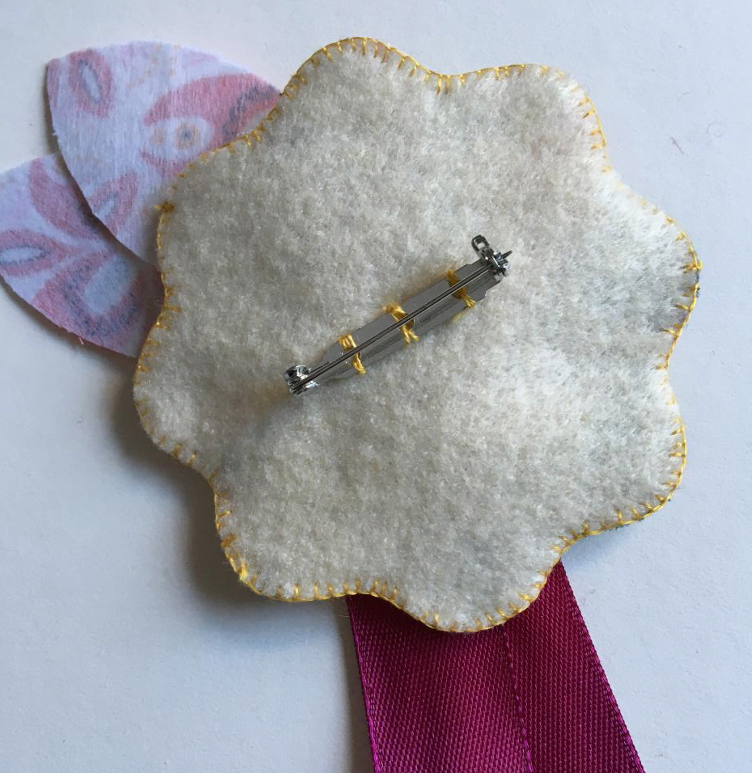
Your brooch is now finished.
Now you can experiment with lots of other different shapes and designs to create your own beautiful keepsake for a special occasion.


KEEP CRAFTING X
To see more from Sarah, visit her on Instagram @sjstitchery
Made by Sarah Holliman for The Craft Cotton Company 2021
Comments