

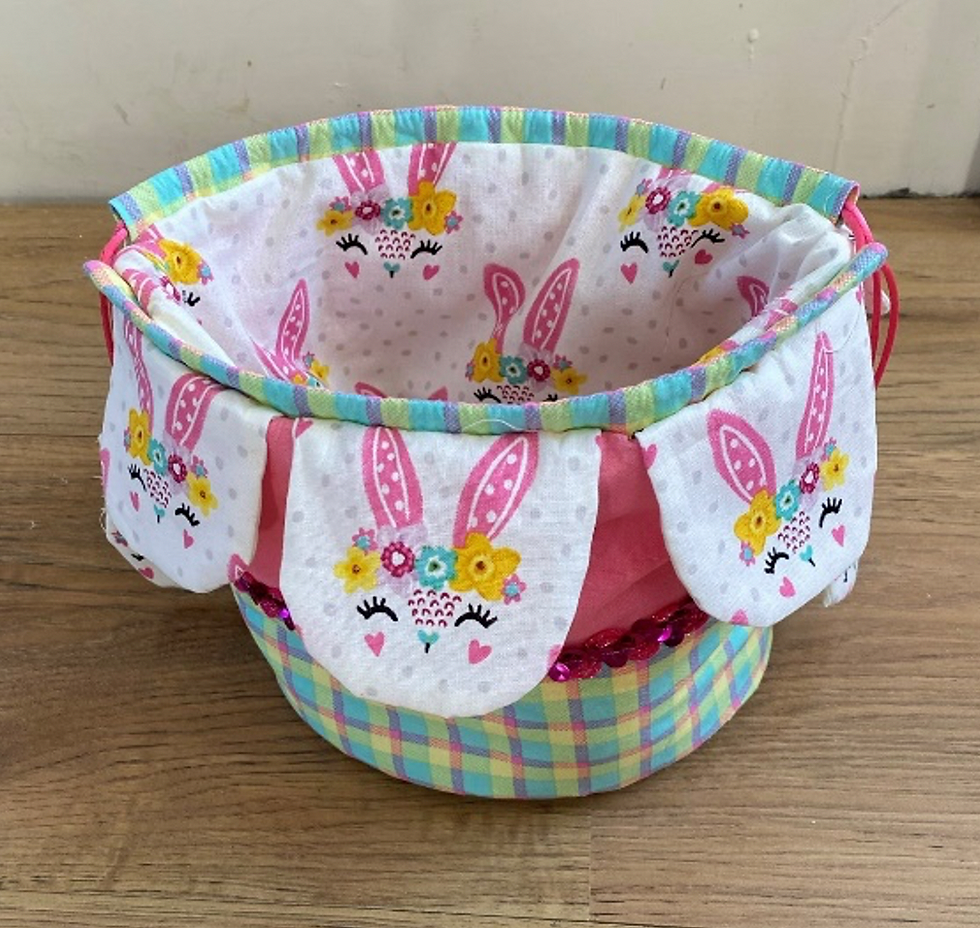
Easter Egg Hunt Basket
- Craft Cotton Co

- Mar 24, 2022
- 2 min read
Updated: Mar 30, 2022
Project by Daisy Lawn

This could be made using various fabrics to utilise different uses.
A Fat Quarter Bundle gives an option to use many different panel pieces.
1. Cut your fabric.


2. Now we have all pieces cut (1/4” seam allowance throughout)
Sew two bottom pieces of outer fabrics together, press seam open.

5. Fuse the interfacing onto the inside.

6. Fold in half outsides together and stitch up the two short edges.

7. Box the corners, using 5” side to side, mark and stitch.

8. Cut off corners leaving ¼". Repeat this process for Lining (except interfacing). Put to one side.

9. Handles-
Stitch each different fabrics along long edge, press seam open, fuse interfacing to the exact centre.

10. Fold outer edges to centre press.

11. Fold in half, press.

12. Top stitch both sides.

13. Rim-
Fuse interfacing to two pieces.

14. Mark 4” from each end on both pieces (this is handle placements)

15. Pin Handles in place.

16. Lay second Rim piece on top, right sides together and stitch along length.

17. Press seams open.

18. Stitch ends to form a ring.

19. Fold and Press, Top Stitch top handle edge and stitch close to raw edge to make easier when attaching.

20. Cover-
Right sides together, stitch each side, leaving 2” from the top each side.

21. Press seams open top to bottom, stitch each seam from top to bottom each side.

22. On the top {open 2”} fold and press ¼”, fold and press ¾”.

23. Stitch close to edge (Cord Placement Casing).

24. Place lining inside the outer, insides together.

25. Stitch to hold together.

26. Turn the Cover inside out, insert the rim with handles downwards. Insert bag liner right side out, then stitch all round, securing everything together.

27. Turn right side out, thread cord through casing and add two little fabric tabs to each end of the cords.

Finished!


Made by Daisy Lawn, for The Craft Cotton Co 2022

Comments