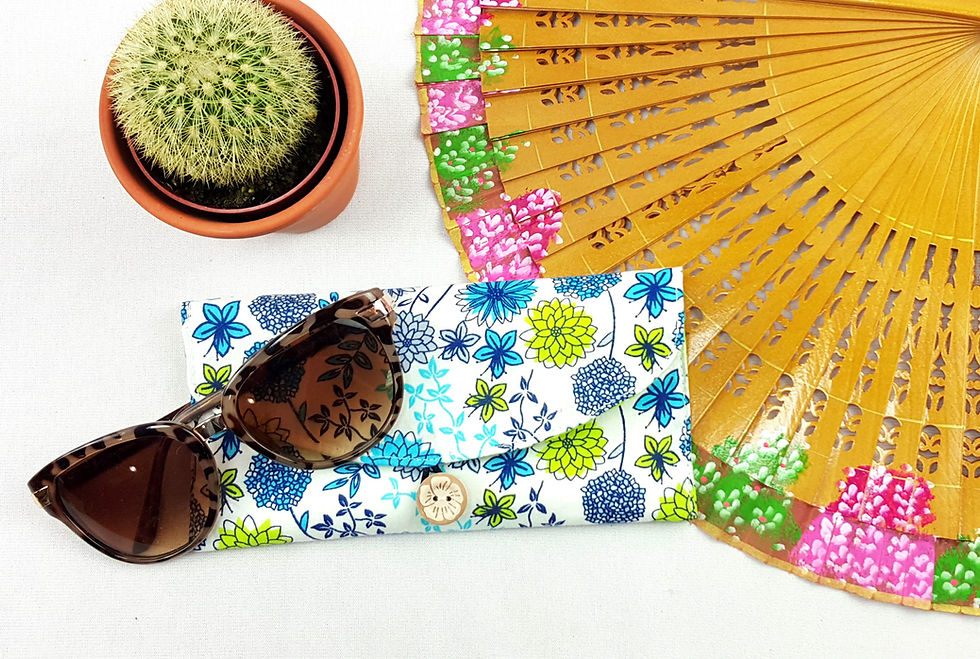
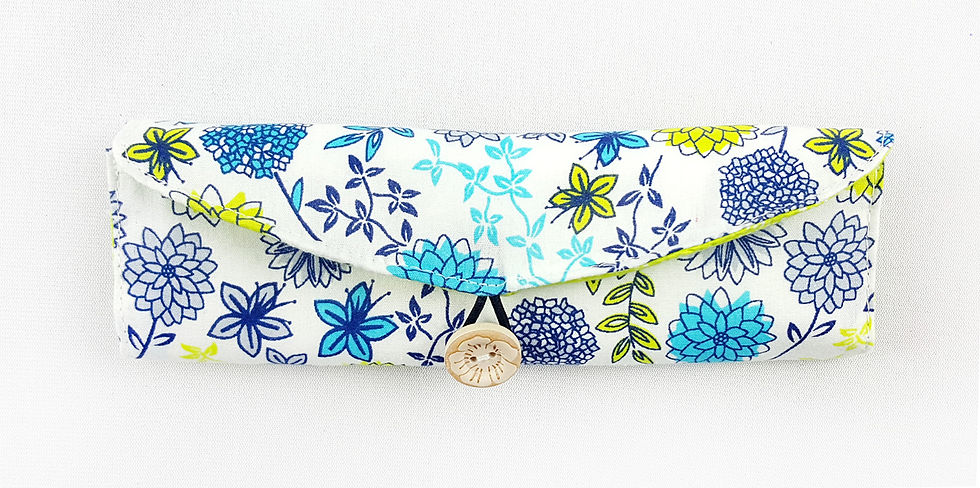
This is a great tutorial to get stuck into for summer. The tutorial gives shows you an easy way to make the perfect case for your sunglasses using our gorgeous Floral Spray cotton. These look great with the matching beach bag (see previous tutorial) and can also be used as a mini-clutch for the beach!

What you will need:
Pencil
Ruler
Scissors
Pins
Iron
Needle and thread
Sewing machine
5cm thin elastic (a thin hair bobble works!)
2 buttons
The Craft Cotton Company’s Heritage Wadding (or single-sided fusible wadding)
The Craft Cotton Company Floral Sketches Spray and Textured Lime Cotton Prints
First, cut out your fabrics:
Cut the 2 Floral Sketches fabrics to 20cm x 27cm. These will become the main fabric and the lining for the case.
Cut the wadding slightly smaller at 17cm x 26cm.

Next, draw the arc and tack the fabrics:
On the wrong-side of your main fabric along one of the 20cm edges, mark the centre of the rectangle. On each side of this edge, make a mark 4cm down. Join the markings together to make a smooth curve.

Draw a 1cm seam allowance around the perimeter of the fabric.
Tip: Tape 2 pencils together to get a perfect seam allowance.
Place your wadding in the middle on the wrong-side of the lining fabric. Tack your wadding in place.

Now, place the fabrics together and make the fastening:
Take the lining fabric and the main fabric and place them with right-sides together and pin in place
To make the fastening, take the bobble and make a small loop (about 6cm). Tack this in place in the centre, sandwiched between the 2 fabrics. Make sure that the bit that you want to use as a fastening is tucked inside the 2 fabrics.

Sew the fabrics together:
Sew along the seam allowance, making sure to leave a 6cm gap to turn through. Make sure to catch the wadding in the bottom seam and the curved seam but not on the side seams.
Trim the excess fabric on the curve. Turn the fabric through and iron.
Tip: Use the iron to slightly push the main fabric over the edge of the lining fabric so that it slightly overlaps the edge. This helps to make the case have a neater finish.
Use a slip-stitch to close the 6cm gap.
Fold over the bottom of the case by 9cm and iron and pin.
Very carefully, edge stitch around the perimeter of the case (apart from the bottom).

Finally, attach the button:
Fold the flap over the case and mark where the button will be.
Using your needle and thread, sew the button on securely.

You can also add a second button on the back of the case. By folding over the flap to the opposite side, you can make a mark for a second button. This will make the case the perfect size for reading glasses.


© By Raeven Erin and Victoria Loiuse for The Craft Cotton Company 2016

